Please note that this tutorial is an expanded version of a
tutorial available on CNET. If you wish to learn about a related software topic, check out
this tutorial on programming a drawing/painting application in Scratch.
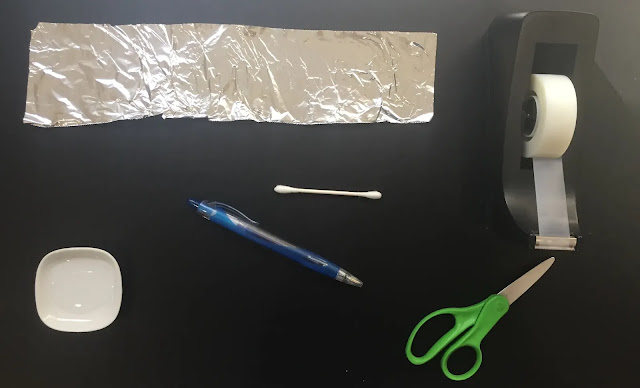 |
| Materials for the Stylus |
In order to complete this tutorial you will need a pen (one you can open and remove the ink from), a cotton swab (a.k.a. q-tip), scissors, tape and a small sheet of aluminum foil.
This design is best for capacitative touch screens that rely on the transfer of electric charge in order to operate. Many Apple and Samsung touchscreen products rely on capacitative technologies and will work with this DIY stylus. Aluminum foil allows the stylus to transfer the electric charge typically found in our fingers to the tip of the stylus.
 |
| Example of a store-bought electric stylus for capacitative touch screens. |
Step 1: Remove the ink from the pen (technique may vary based on your selected pen).
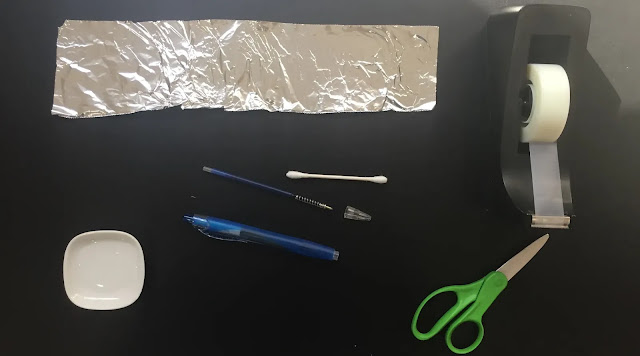 |
| Step 1 Results. |
Step 2: Reattach the pen tip if it was removed (or other pieces of the pen removed during Step 1). A secure pen tip is required for the next steps.
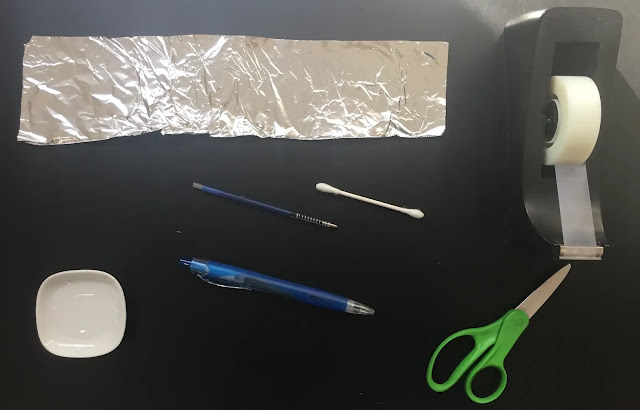 |
| Step 2 Results. |
Step 3: Cut the cotton swap at a sharp angle (i.e. diagonally) into two unequal lengths (approx. a 1/3 - 2/3 split along the length of the cotton swab).
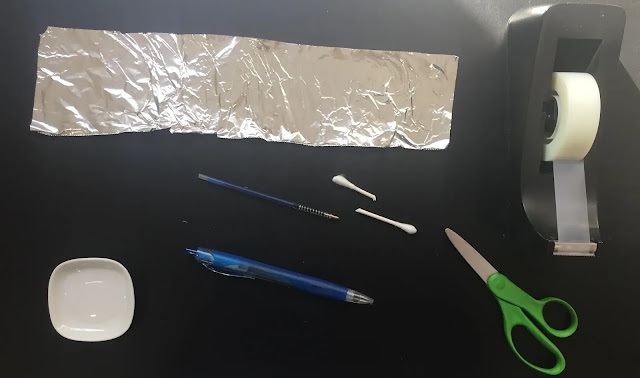 |
| Step 3 Results. |
Step 4: Insert the longer section of the cotton swab into the pen tip.
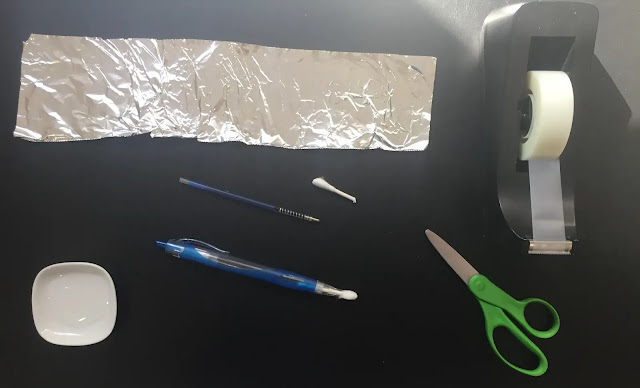 |
| Step 4 Results. |
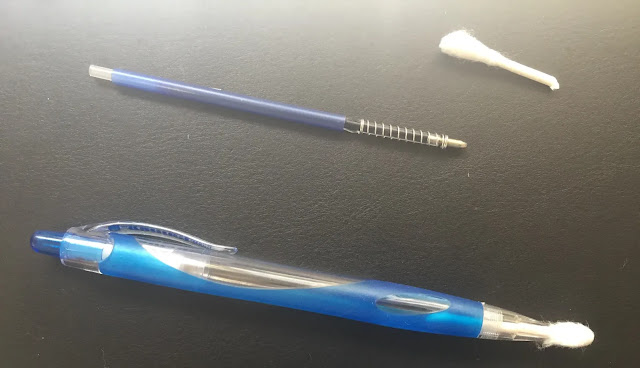 |
| Step 4 Close-Up. |
Step 5: Secure the cotton swab with a piece of tape.
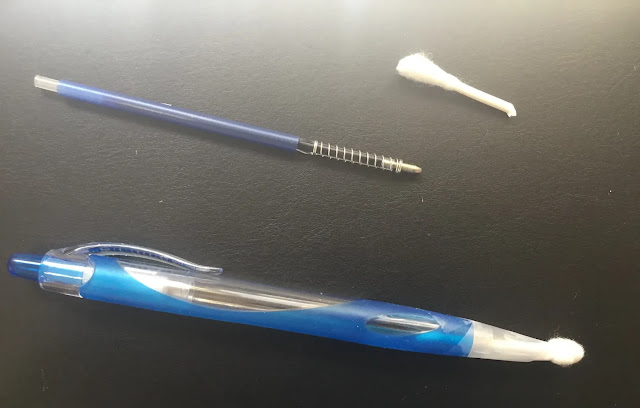 |
| Step 5 Results. |
Step 6: Cut the necessary length of aluminum foil (enough to wrap around the handle and base of the pen three to six times).
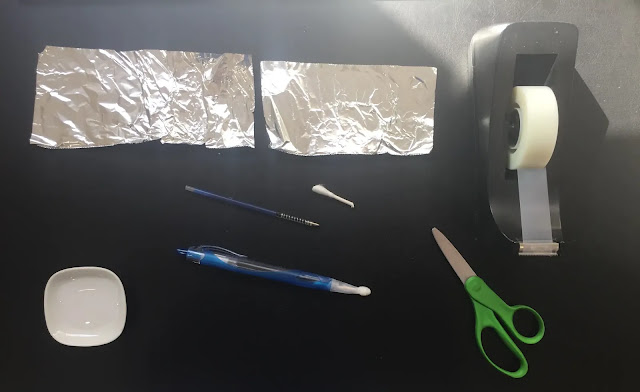 |
| Step 6 Results. |
Step 7: Wrap the aluminum foil around the handle and base of the pen. Keep approx. one to two centimeters of the cotton swab in front of the start of the aluminum foil. Fasten the aluminum foil with a piece of tape.
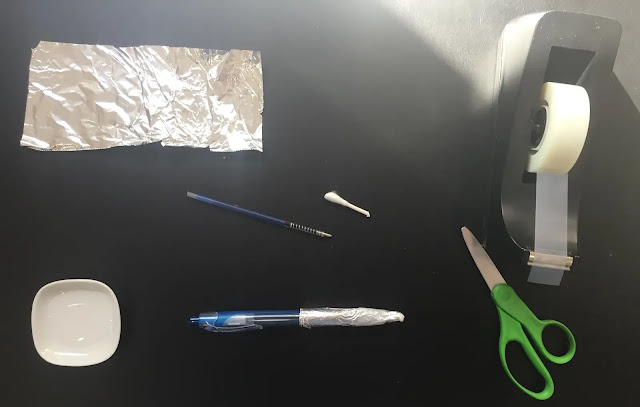 |
| Step 7 Results. |
 |
| Stylus Close-Up. |
Step 8: Moisten the tip of the stylus (cotton swab) gently with a couple drops of water.
 |
| Step 8 Results. |
Step 9: Enjoy the use of your digital stylus on capacitative touch screens! Feel free to check out the demo with the stylus built in this tutorial below.


No comments:
Post a Comment